Drag and Drop Deploy your AppGyver Web App using Netlify

Colby Hemond
Free hosting from AppGyver is gone, but that doesn't mean your options are limited. You can host your AppGyver app just about anywhere. AppGyver has given you a couple free recommendations already for GitHub Pages and Firebase. But my go-to hosting for the modern web is Netlify.
Here is how you can host your AppGyver app on Netlify.
Generate the Build of your Web App
To get to the build page within AppGyver:
- Open up your App
- Navigate to the Launch page (in the top menu bar)
- Click into the Distribute section (side menu bar)
- Click Open Build Service
Configure the build
- Under the Web App section, click the Configure button
- Leave the hostname blank (we can’t deploy to
appgyverapp.comanymore) - Under the Bundle Settings tab, select ZIP, then click Save & Next
- (Optional) Under the Image Assets tab, add a favicon, then click Save & Next
- Go back to the initial Web Build Setting page
- Click Build
Building Web App
- Select ZIP
- Select a runtime version
- Specify an app Version – go with
1.0.0if it’s your first time - Click Build
Note: This step may take a few minutes. You’ll get an email once it’s complete.
Create a Netlify account
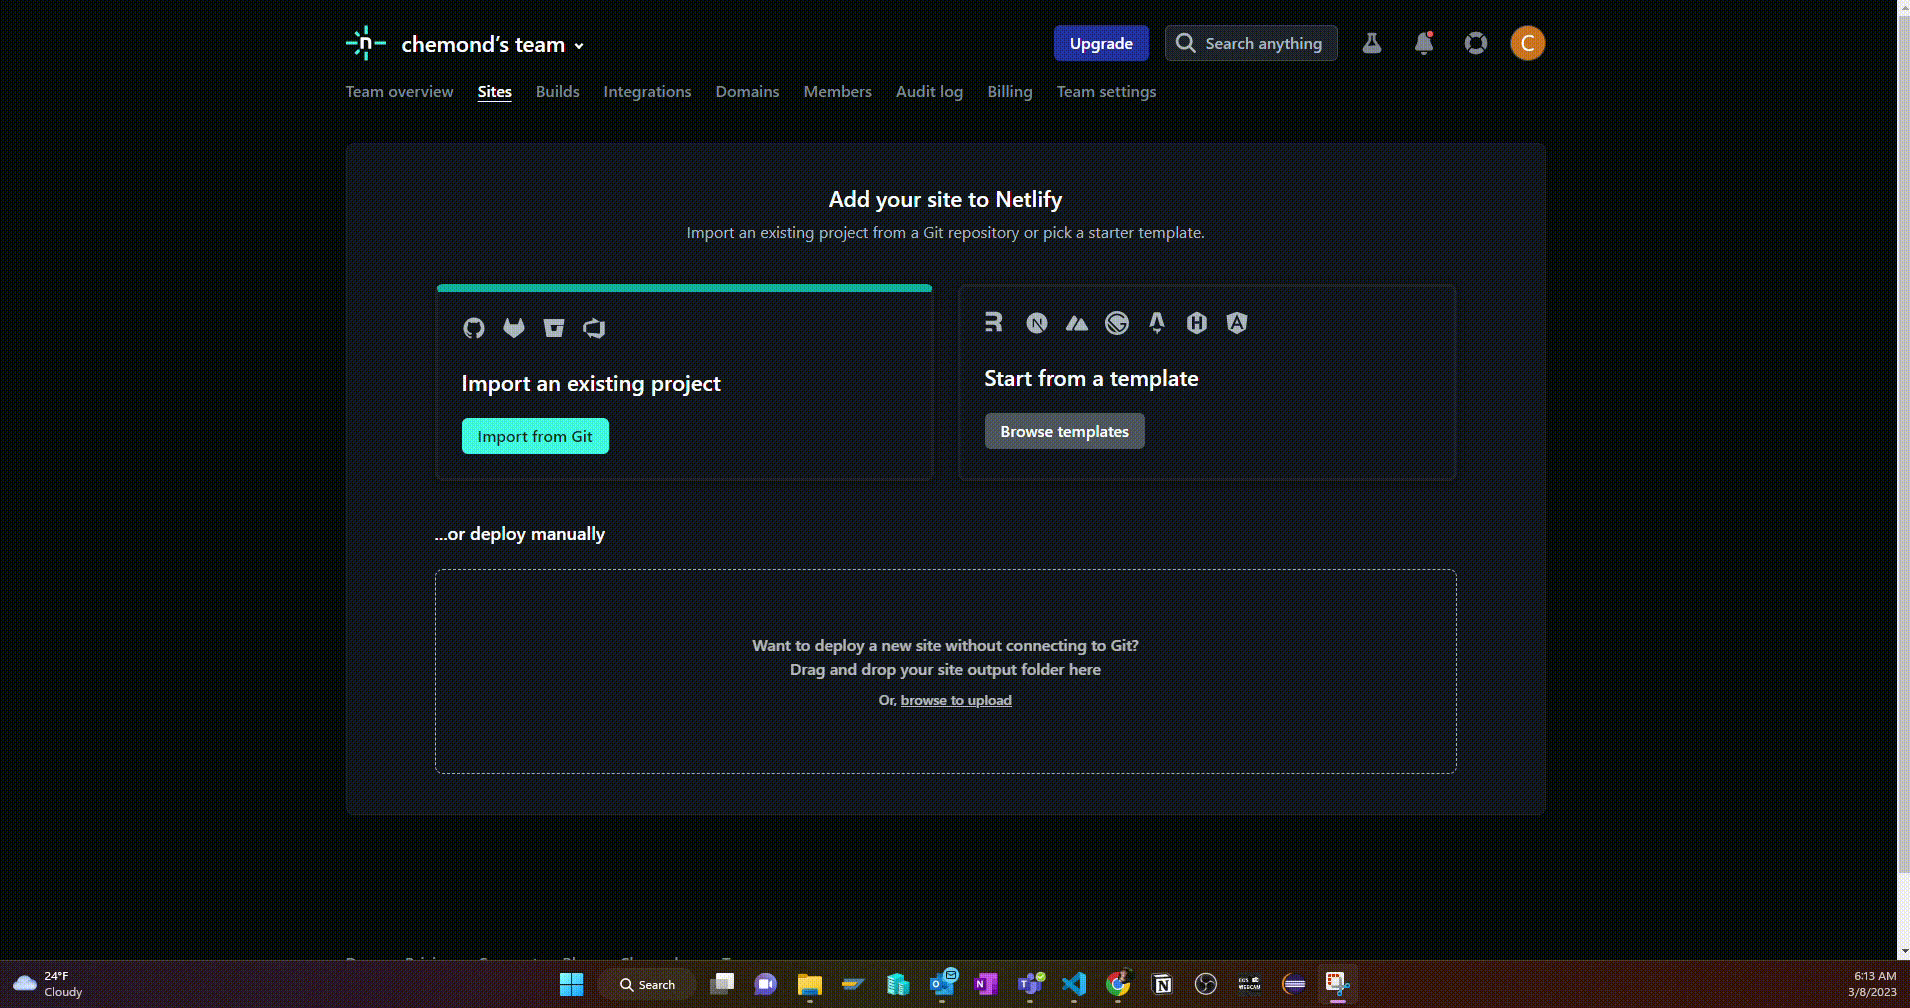
Head over to netlify.com. You can sign up using GitHub, GitLab, Bitbucket, or email.
During sign-up, Netlify will offer to:
- Import an existing project from Git, or
- Drag and drop a folder
You can skip this for now while your build completes, and explore the Netlify dashboard.
Drag and Drop Deploy your Web App
Once your AppGyver build has finished downloading, it’s time to deploy.
Important: You do not need to unzip the build file.
Just drag the ZIP file directly into Netlify’s deploy area. In a few seconds, your AppGyver app will be live.
